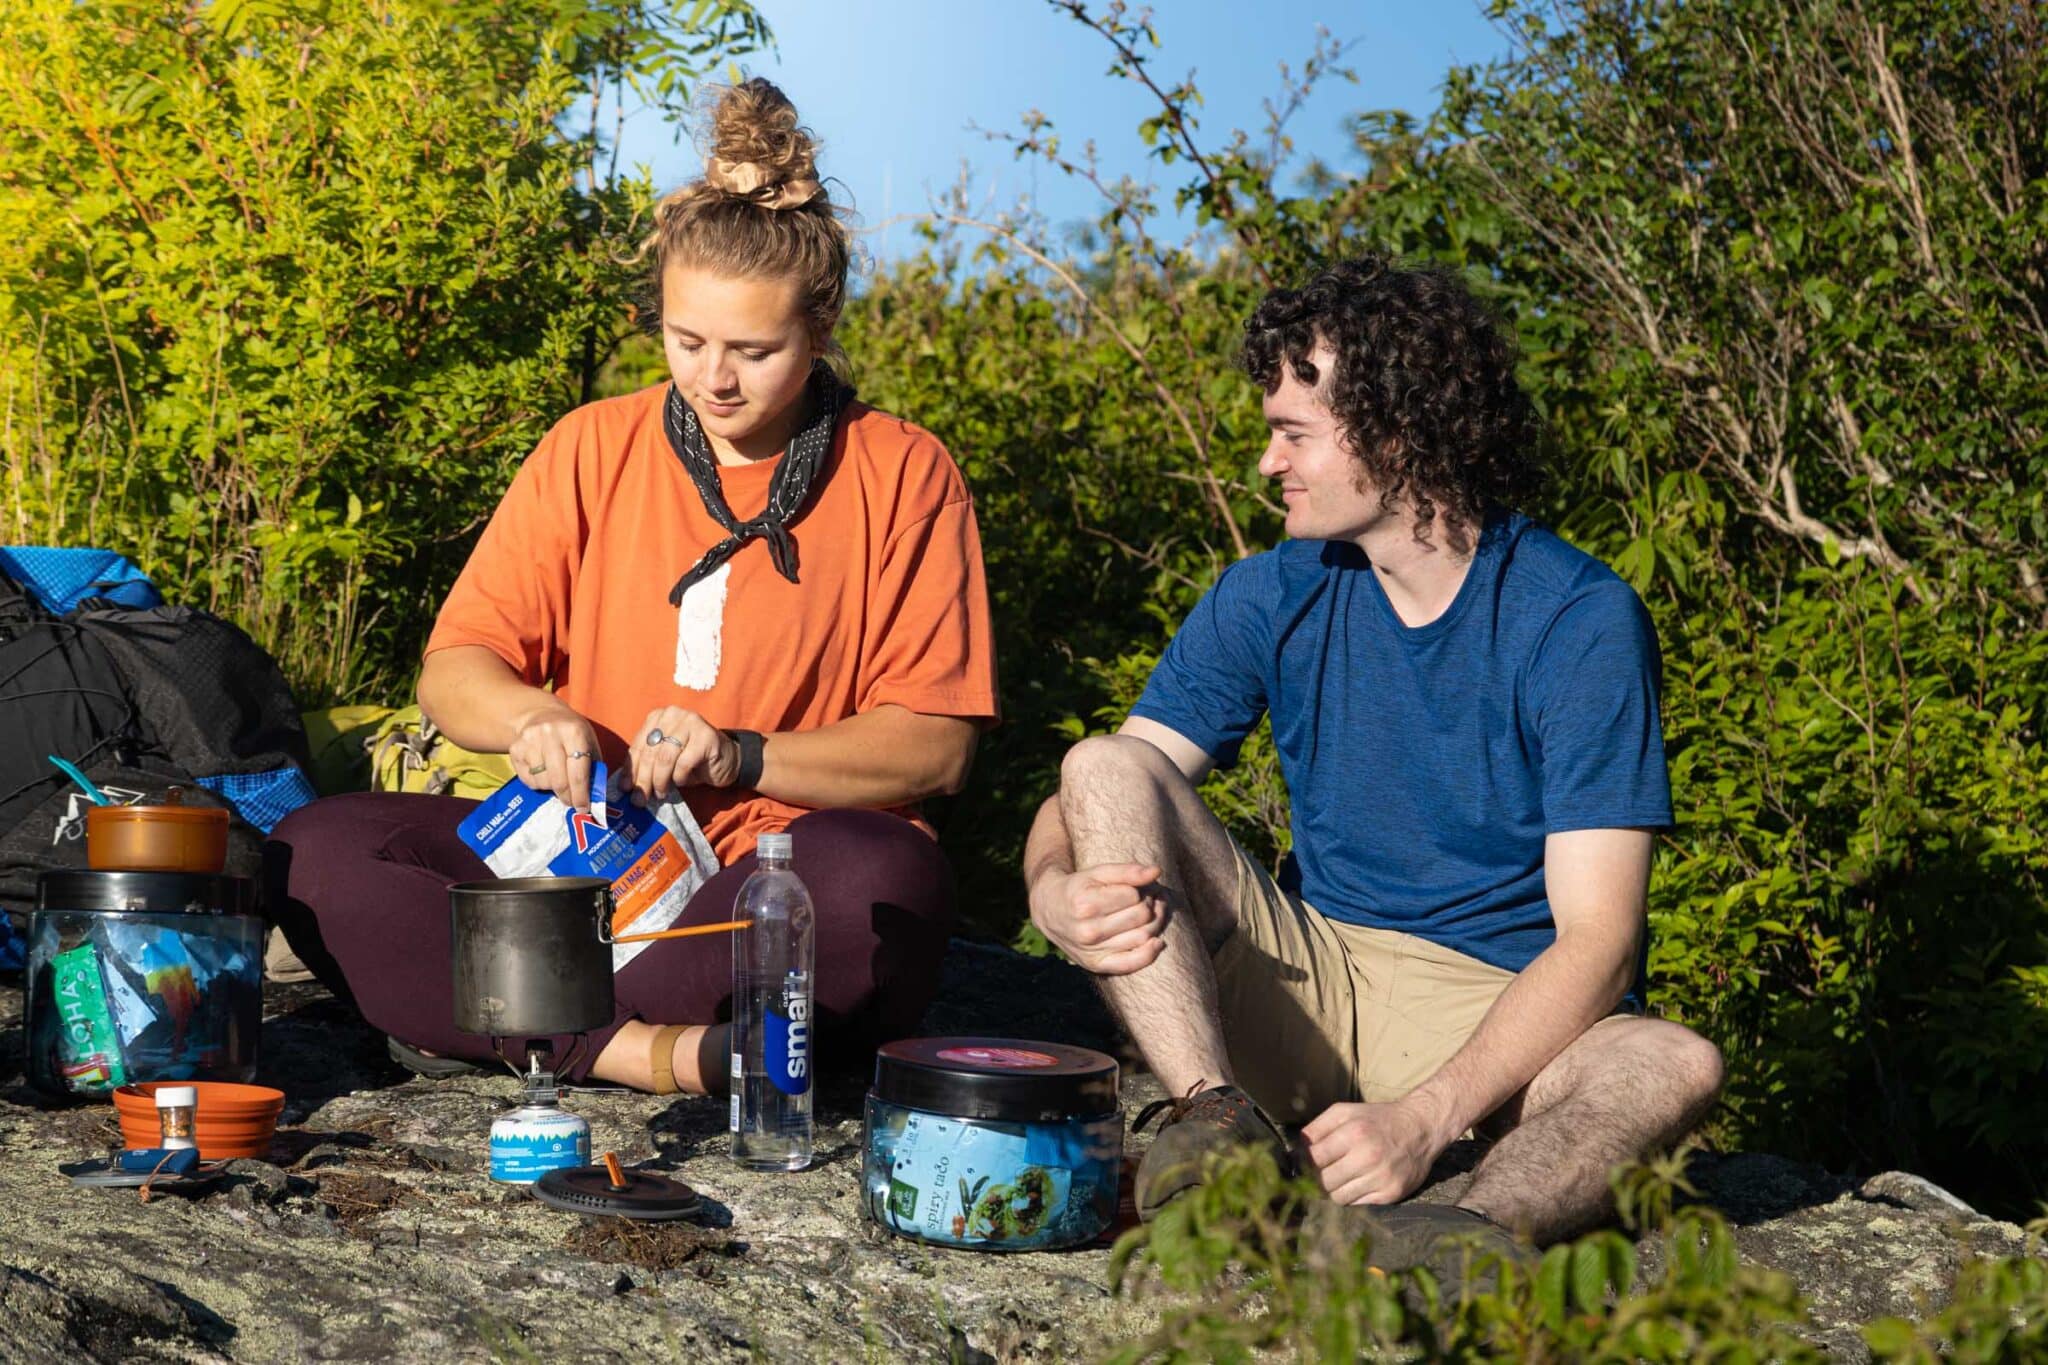
The do’s and don’ts of hiking and backpacking nutrition aren’t always obvious – and they can seem particularly daunting when using a bear canister. So we asked a few nutrition gurus how backpackers can optimize their approach to fuel when carrying a hard-sided bear canister like a BearVault.
Prepping for my first backpacking trip in Yosemite National Park, I relied on the gear and food lists that I’d always used when hiking in my home state of Colorado. Bagels, summer sausage, apples, a block of cheddar cheese—all this and more got loaded into my trusty 55-liter pack for a three-day jaunt from Yosemite Valley. But when I met my hiking partner at the trailhead, he monkey-wrenched my carefully-loaded backpack by presenting me with a piece of gear that I hadn’t thought to plan for: a hard-sided bear canister.
Except I’d forgotten about Yosemite’s bear canister requirement, and when my companion presented me with a canister at the last minute, I struggled to make all my trail food fit into its unforgiving dimensions. The round shapes of my bagels and apples created air pockets within the canister that I couldn’t easily fill with other trip food. Jars of cooking oil, granola bars, that block of cheddar cheese—none of it nested neatly like Tetris blocks. Ultimately, I ended up stomping on my bagels to make them flat enough to let the canister lid achieve a proper lock.
I’ve since become much savvier about food planning with a bear canister. The need to confine my food and trash to its rigid confines has prompted me to become smarter and more efficient about how I fuel my hike. I’ve changed what I eat, and when—and of course I package it differently when I’m packing a canister. But I also learned a lot from nutrition experts who’ve developed science-backed strategies for optimal fueling when hiking.
Here’s what they shared.
Embrace Destiny
Backpackers don’t have the luxury of raiding a home pantry and refrigerator for every meal and snack. The food we eat has to fit within a certain pack size, and sometimes a certain bear canister size. Working within those volume constraints—along with the need to carry that weight everywhere we want to go—hikers quickly learn the value of choosing food that delivers maximum fuel value for minimum bulk and weight.
“When you need to get all your food inside something rigid (like a bear canister) at night, you can only carry so much,” explains outdoor adventurer Ryan Wichelns, who founded Trails Magazine. “So it’s super important to get the most bang for your buck and carry foods that pack as many calories as possible into a set amount of space. The more calorically-dense your food is, the more calories you can jam into your bear canister.”
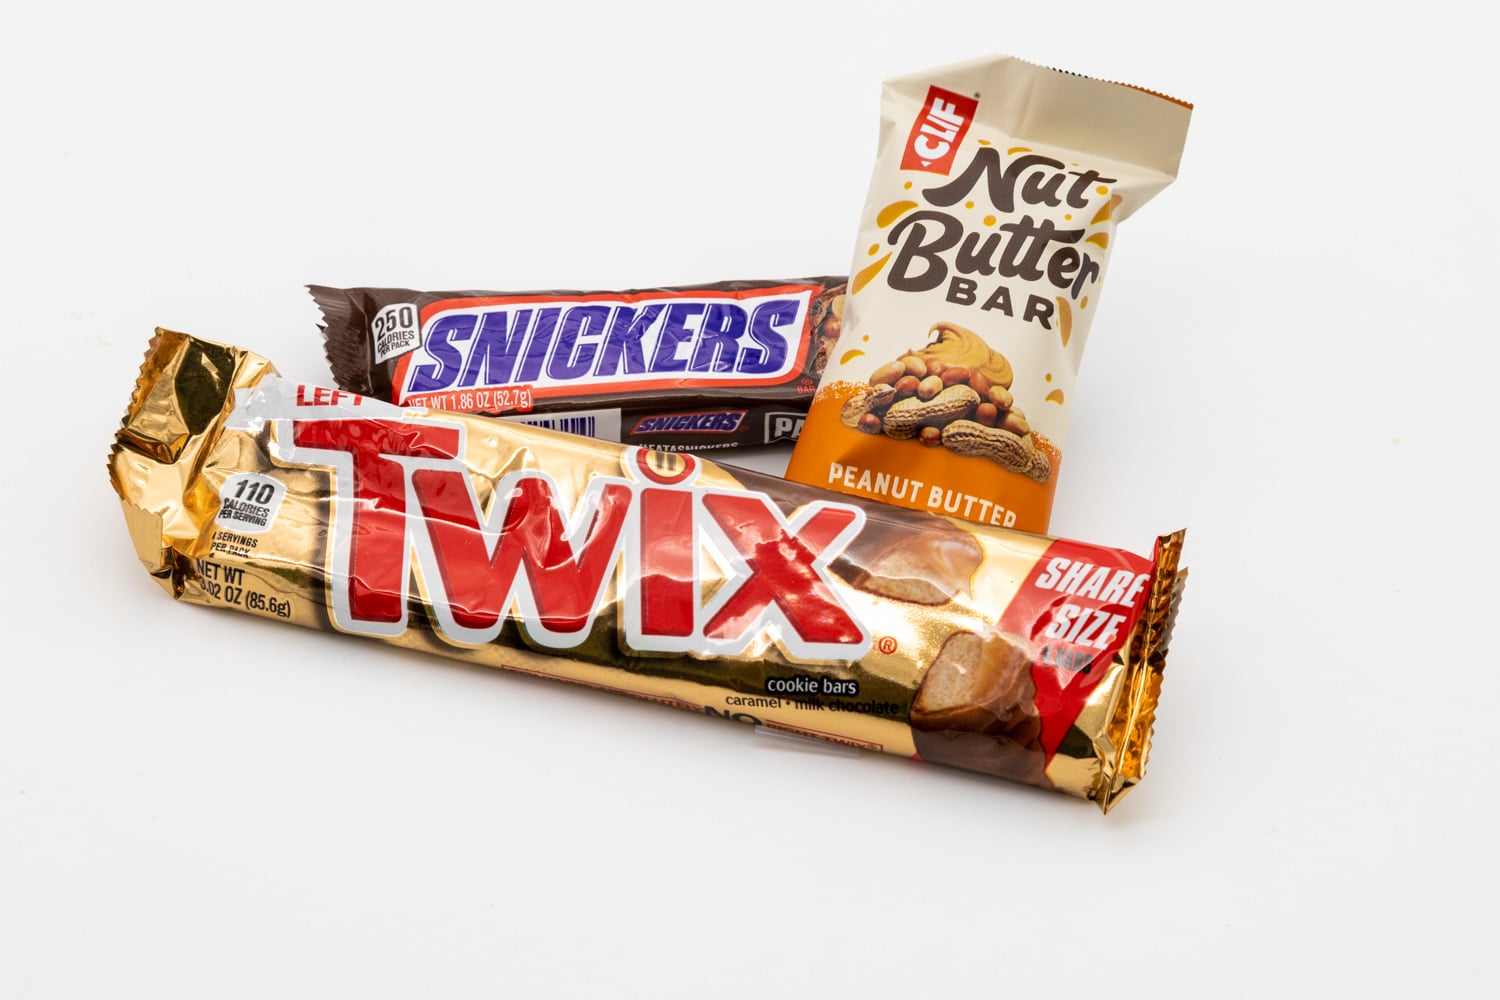
Wichelns’ quest to identify the most calorically-dense foods led him to start plotting nutrition facts in spreadsheets that he referenced as he planned his various hiking and climbing trips. His focus eventually settled on snacks, which Wichelns eats throughout the day and as a substitute for a lunchtime meal. Entering calories per package and weight per package into separate columns, he calculates each snack’s calorie-per-ounce value. And because there’s no point in hauling snacks that are too unappetizing to actually eat, Wichelns also includes a column for the snack’s taste appeal. His winners include Clif’s Nut Butter Bars, Snickers, and Twix bars.
Yet Snickers don’t make the grade for registered dietitian and ultralight backpacker Aaron Owens Mayhew, who authors the Backcountry Foodie blog. “I love Snickers bars, but they’re not pliable,” she explains. “I consider Honey Stinger Waffles to be a must-have,” she continues. These soft, bendy snacks conform to the curved sides of a bear canister or food bag—and they deliver 150 calories per ounce.
“High caloric density is key,” continues Mayhew, who packs macadamia nuts instead of peanuts (which provide fewer calories per ounce). She also developed her Aloha Trail Mix to provide the most possible energy in the smallest package: Blending macadamia nuts, unsweetened coconut flakes, dried pineapple and white chocolate chips, this trail mix provides a whopping 822 calories per five-ounce serving (that’s 168 calories per ounce).
As for fresh fruit like that apple that I tried to pack in Yosemite National Park? All that water weight compromises its caloric density and makes it problematic for backpackers, particularly ones that carry bear canisters. Even fruit’s trash isn’t light, Mayhew notes. “You have to pack out the fruit peels and cores,” Mayhew adds, and those discards claim space in a bear canister.
Harder to calculate than caloric density is just how many daily calories each hiker needs. Every body has different energy needs, and the MET Calculator is one way to estimate yours. Wichelns climbed Denali on 3,000 calories per day; some backpackers prefer 4,000 or more daily calories. The only way to know is to try out varying fuel plans to see how your body responds.
Nutrition Beyond Calories
A food’s calorie content is a good place to start, but it’s not the last word on effective fueling. “Ideally, all meals will contain a balance of carbohydrates, protein, and fat,” explains Mayhew. “If you eat just carbs, your energy level will crash within an hour or so.” Protein and fat stabilize blood sugar spikes and drops by delivering slow-release energy. (That explains why, as a thru-hiker on the Appalachian Trail, my body performed so well on ice cream: One serving delivers about 7 grams of fat, 2 grams of protein, and 16 grams of carbohydrate).
What’s more, fat is especially calorie-dense (see discussion above) making it a valuable source of fuel for all backpackers, particularly those who carry bear canisters. Consequently, Mayhew rejects many simple starches that have, over time, become backpacker staples. Tortillas don’t meet her standards: Although they’re pliable enough to pack into a bear canister, they’re too heavy relative to their calorie and nutrient profiles (one 140-calorie Mission flour tortilla delivers 9 grams of carbohydrate but just 1 gram of protein and .5 gram fat). White rice and instant potatoes are also no-go’s, because they too lack protein and fat—which must be supplied by bring additional food (for additional weight).
Using the same logic, tuna packets are also off Mayhew’s “approved” list. “They’re all protein,” she explains. “So you also need tortillas for carbs and cheese for fat, which gets quite heavy.”
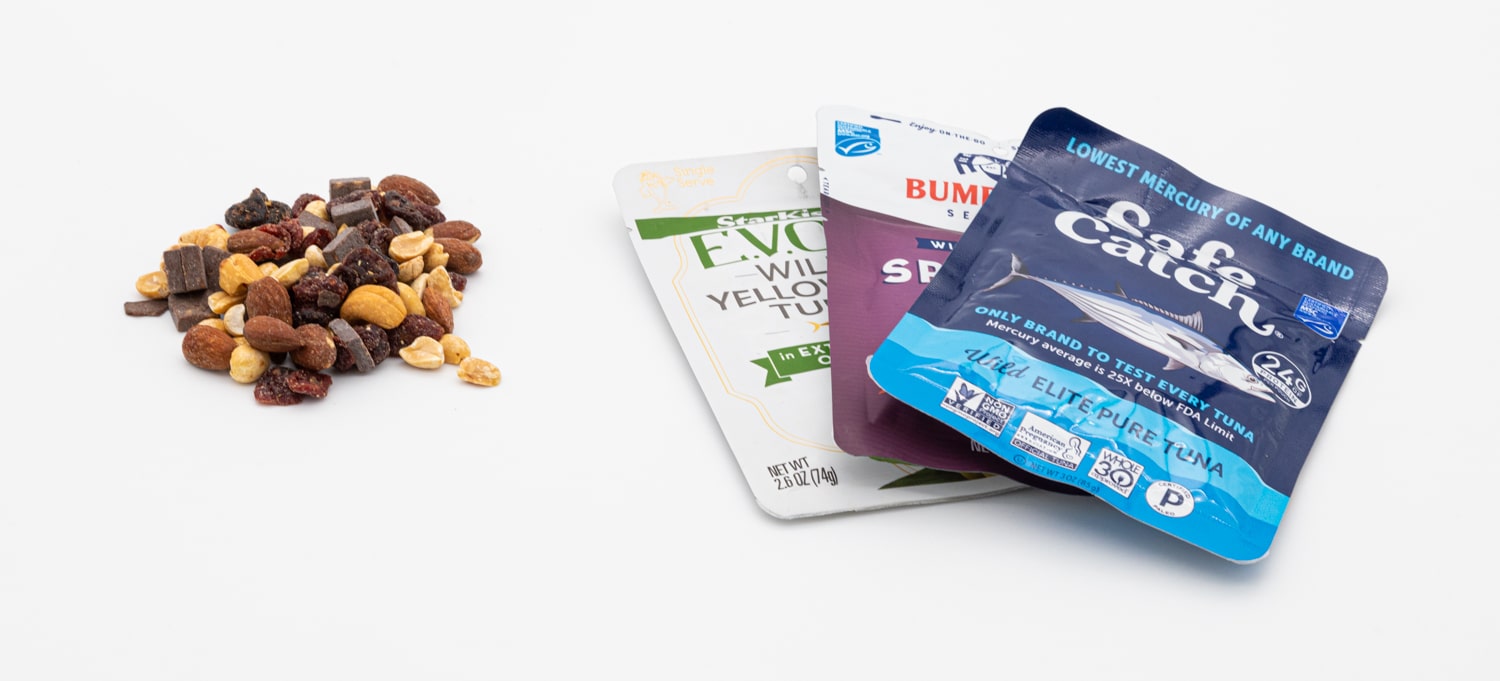
Mayhew’s solution is to rely on powdered and freeze-dried foods when backpacking, especially when she’s using a bear canister. “Powdered milk is one of my go-to’s,” she says. Her powdered bean dip (made with freeze-dried cheese) delivers an appealing blend of carbohydrates, protein and fat—for 150 calories per ounce.
“Freeze-drying retains 97 percent of the food’s vitamins,” she explains. Because those macronutrients remain unharmed, freeze-dried vegetables and fatty foods (such as cream cheese) provide an effective way for long-distance hikers to get the nutrition they need to sustain their immune systems and support overall health. “I still recommend that thru-hikers take a multivitamin so they know they’re covered,” says Mayhew. But food-based nutrition remains important, and instead of packing fresh cheddar, for example, Mayhew fills her bear canister with the freeze-dried version.
Even weekend backpackers benefit from eating the full spectrum of vitamins and minerals, says nutritionist Nicole Cormier, who consulted on the Appalachian Mountain Club’s Real Trail Meals cookbook. “Hiking is a form of exercise that naturally causes some inflammation,” Cormier explains. Knees sore after a grueling day of downhills? “That’s inflammation,” she confirms. The solution can involve more than just Ibuprofen.
Hiking is a form of exercise that naturally causes some inflammation. Knees sore after a grueling day of downhills?
That’s inflammation.
-Nicole Cormier
“Replenishing with vitamins and minerals helps bring that inflammation down,” she continues. Her superstar: Hemp seeds, which are high in protein and fat (including the inflammation-quenching omega-6 and omega-3 fatty acids). Concludes Cormier, “It’s not just calories that will make you hike effectively, but also the quality of the nutrients you’re choosing.”
Talking Timing
“Ideally, hikers should eat within 15 to 60 minutes,” says Mayhew. That’s because exercise naturally creates micro-tears in your muscles and depletes the body’s stores of glycogen (the energy burned by muscles while climbing mountains and fording creeks). Proper nutrition replenishes glycogen stores and helps muscles repair those micro-tears so you can hike strong not only on Day One, but also Day Two, Three, Four, and beyond. That is where backpacking nutrition starts to really matter!
But timing makes a big difference. An hour or more after you stop exercising, your body puts less of those calories and nutrients toward recovery. But eating within 15 to 60 minutes of ending your activity exploits the body’s repair window, says Mayhew. “Have a snack as soon as you stop hiking to start the recovery process,” she suggests. Then, have a meal, and if you’re still feeling depleted, follow that with another snack in two hours.
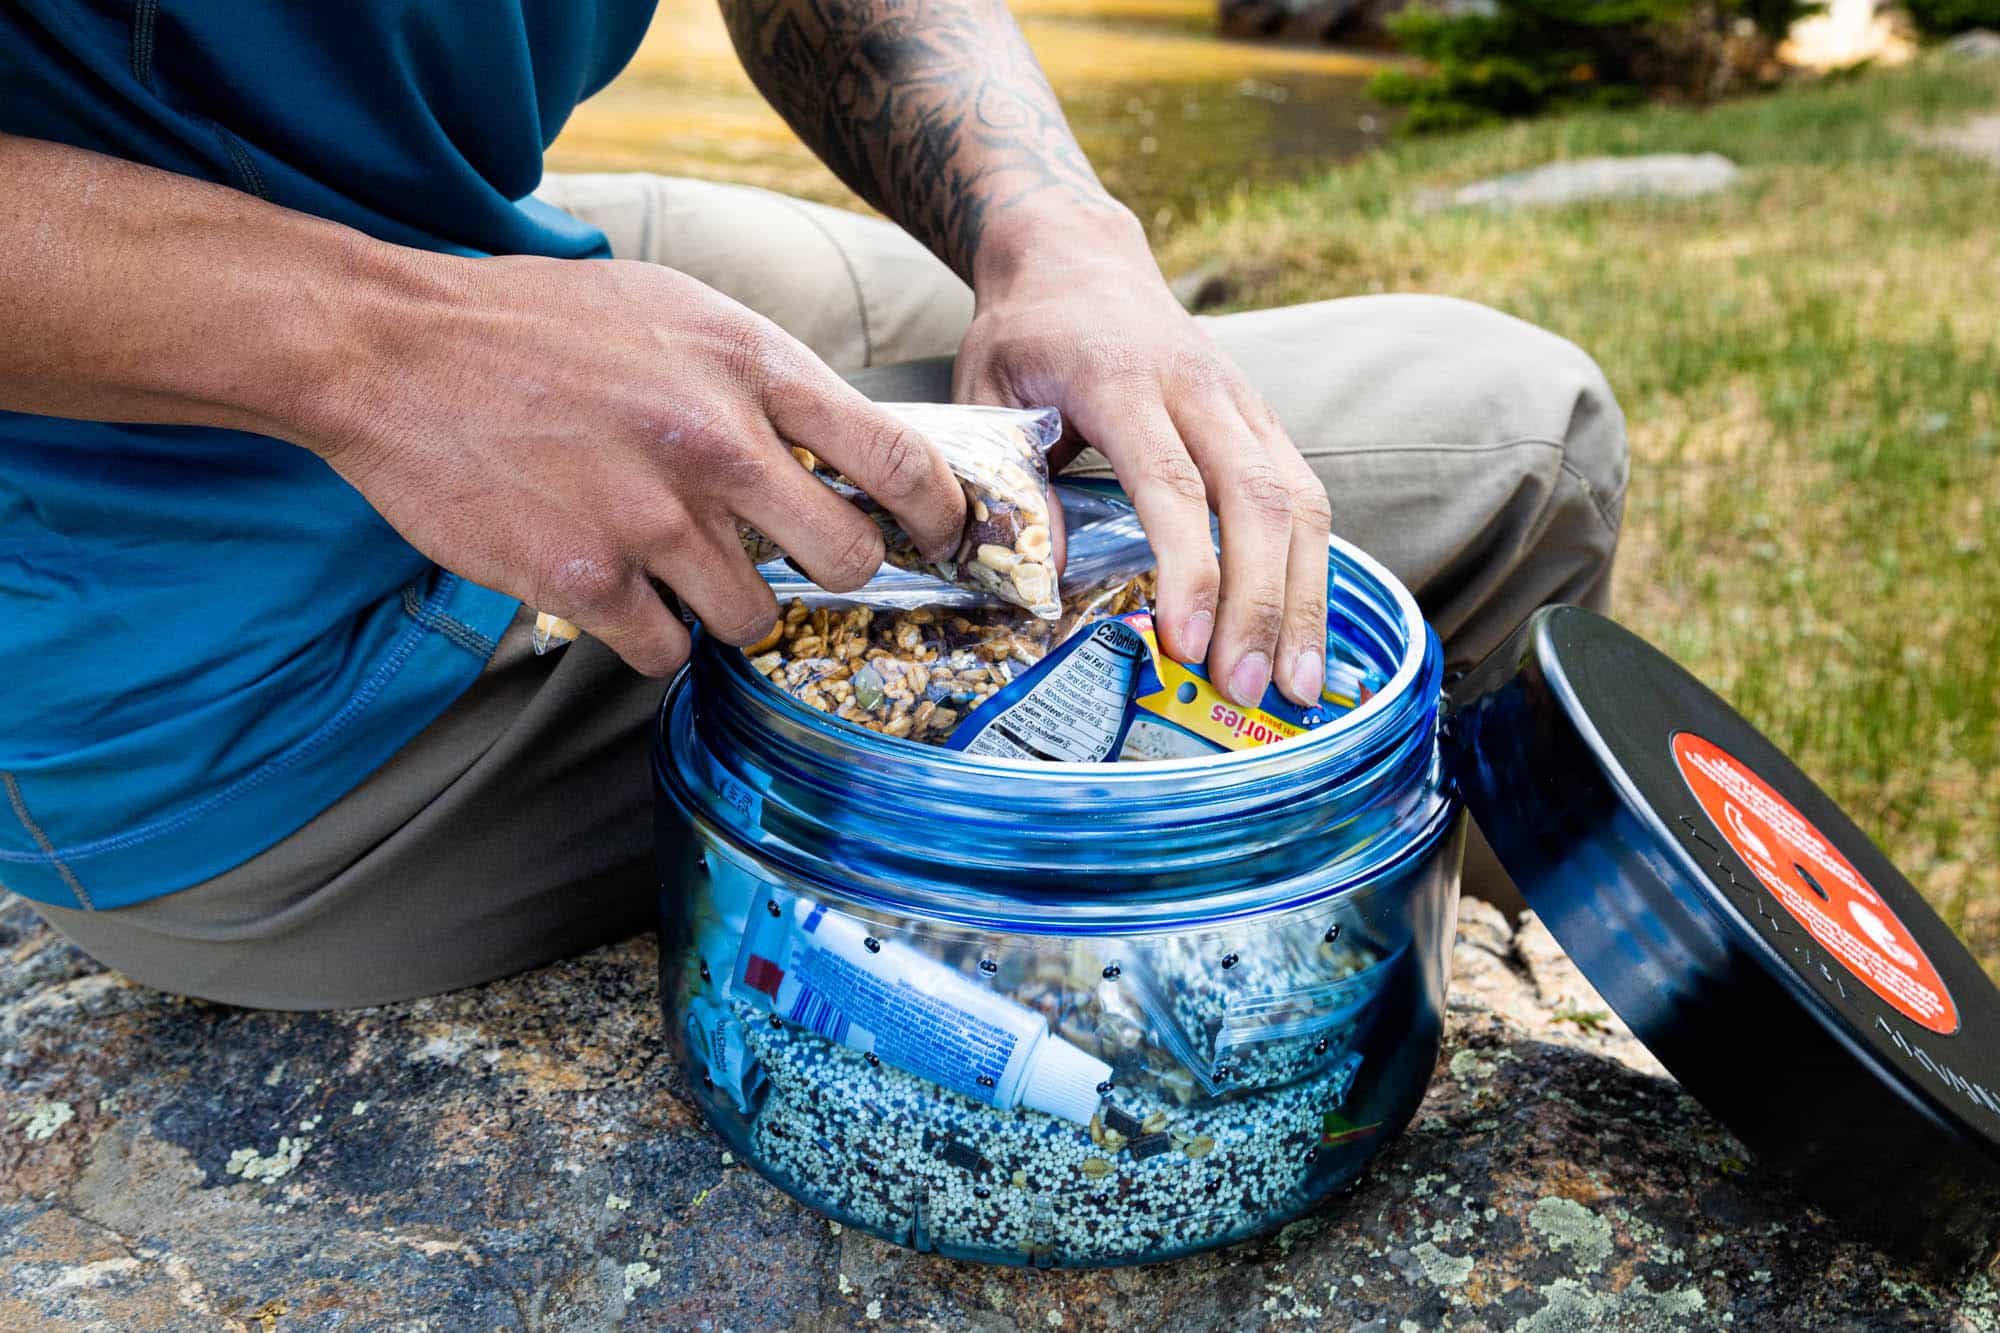
Make sure those recovery snacks and meals deliver a 3:1 or 4:1 ratio of carbohydrate to protein. That’s the balance that studies have shown to be most effective at repairing worked tissues and replenishing glycogen stores. “What you’ll notice is that the next morning, you’ll feel more refreshed that you would have if you’d slacked on recovery eating. You’ll feel fully fueled, rather than behind the ball.”
As for timing snacks while on the go, Mayhew says that depends on the intensity of the hike. Really strenuous climbs will burn through energy stores faster and might necessitate snacking every hour, but most of the time, snacking every two to three hours is sufficient. Even when snacking, Mayhew recommends a balance of carbs, protein and fat. “You don’t need the really sugary fuels that runners rely on, because hiking is a lower intensity activity that rarely spikes a heart rate of 160 or 170 beats per minute,” she explains. So skip the gels and reach instead for gorp.
Backpacking Canister Concerns
Fitting your calorie-dense, nutrient-balanced foods into your hard-sided bear canister sometimes requires additional considerations. For example, it’s smart to avoid foods and packaging that contain lots of air. Mayhew names bagged spinach and packaged ramen as two examples of foods that contain too much air to be practical for hikers who are carrying bear canisters. Even when you remove ramen’s outer packaging, the noodles’ curves contain a lot of trapped air and makes this a relatively bulky choice of fuel. Stuck on packing ramen? Try pulverizing it to release some of that air space and improve its calorie-to-bulk ratio.
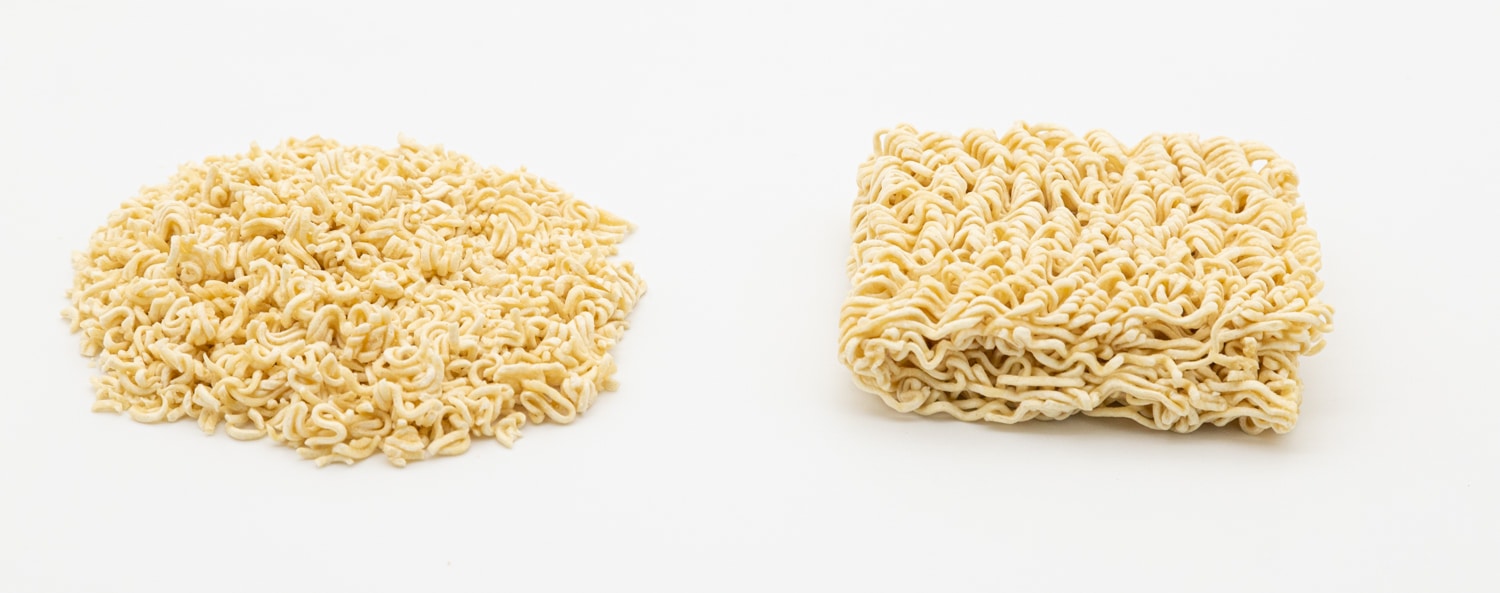
Some hikers poke a pinhole in vacuum-sealed bags to let the trapped air escape. That way, you’re not wasting the limited volume of your hard-sided bear canister by filling it with a bunch of balloons.
Better yet, remove exterior packaging altogether. Remember, everything you don’t eat throughout your trip must be packed out as garbage—and stored overnight in your bear canister. Strip away cardboard boxes and transfer the contents to zipper-top plastic bags. Do the same with molded plastic: If you want to pack the Girl Scouts’ Samoas cookies, remove both the exterior paperboard and the molded-plastic interior dividers.
Choose pliable snacks, such as Honey Stinger Waffles, Larabars, and Clif Nut Butter Bars, which can bend to fit the bear canister’s curved sides. Spaghetti doesn’t bend, making it a poor choice for bear canisters, but tubular pasta shapes (such as penne, ziti and rigatoni) trap a lot of air. For the most caloric density in your bear canister, consider pasta shapes such as acini de pepe or farfalle.
Plan every day’s meals and snacks, so you don’t bring more than you truly need for the trip. Ever hike out carrying uneaten snacks? I sure have, but that kind of inefficiency can make it hard to fit everything into a bear canister, especially on longer trips. Better to chart out each day’s allotment and stick to it rigorously. That way, you don’t bring more food than you truly need—nor will you end the trip hungry because you over-snacked at the start.
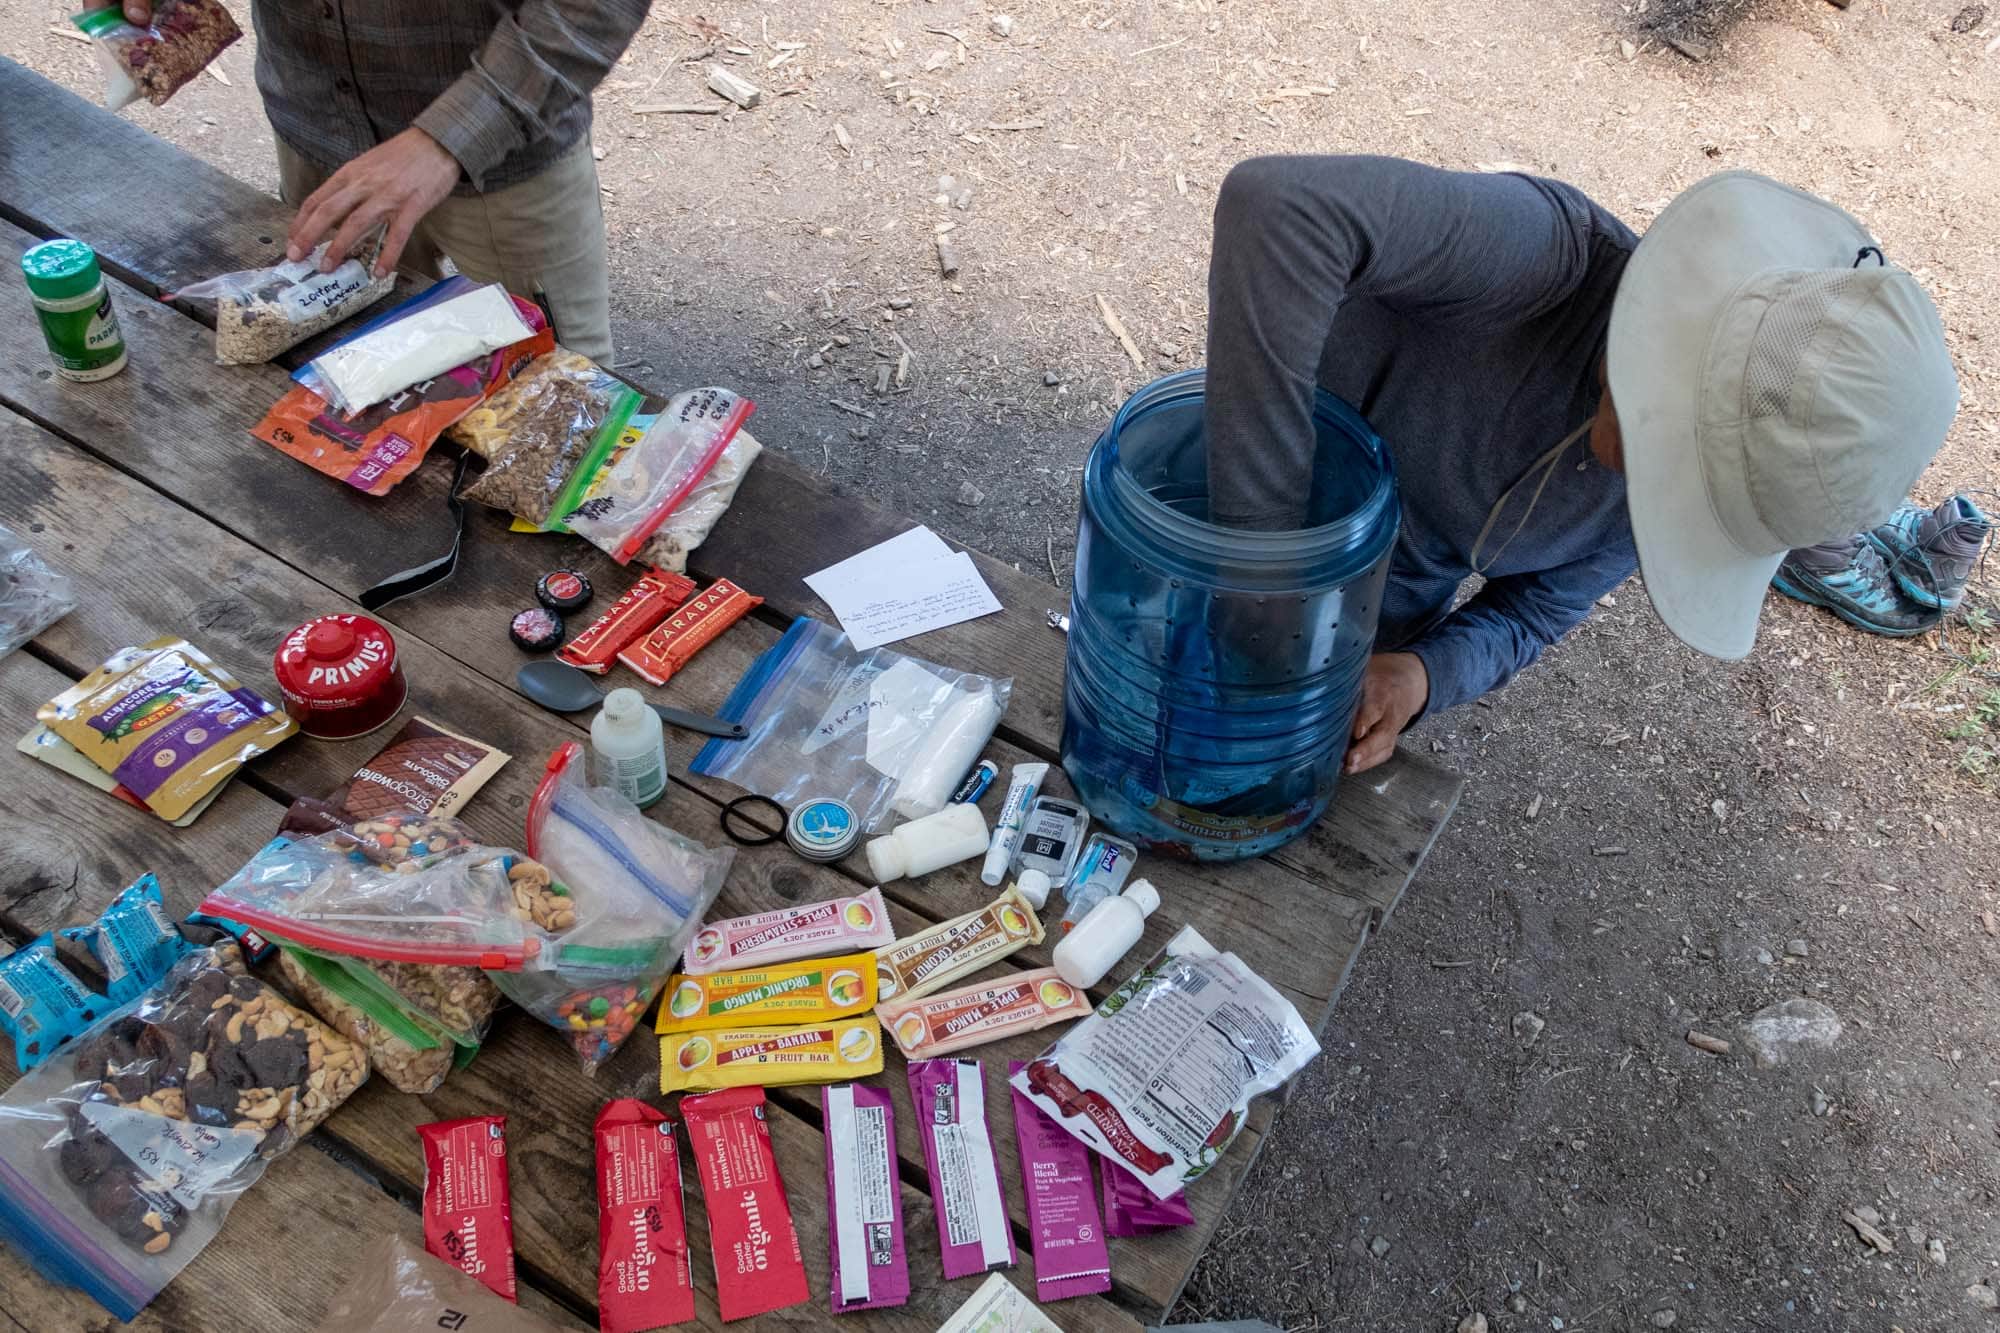
Once you’ve organized each day’s meals and snacks, you can load them into the bear canister with your last day’s meal at the bottom—and your second day’s nourishment on top. As for the food you’ll eat on Day One? You can store all that outside the bear canister, as long as you don’t stray from your backpack to log a quick summit attempt or side hike. You don’t want a bear to sniff its way to your pack while you’re out rambling. Finally, don’t forget to downsize your toiletries and make sure they fit into your bear canister along with all food. No, toiletries don’t count toward your daily calorie count, but as scented items they must get locked away in your bear canister overnight. Buy travel-sized bottles of insect repellant, sunscreen, and toothpaste.
Get a Plan for Your Backpacking Nutrition
You can experiment with food combinations to come up with your own meal plans that successfully fit into bear canisters on backpacking trips of varying lengths. Such quests appeal to engineer-types who love to geek out on calorie density and packing density (successfully fitting a week’s worth of food and snacks into a virtually airless column feels downright triumphant).
But you can also skip right over that time and effort by buying a pre-made plan from backpackers who have already devoted the calculations to make sure everything fits into the confines of a hard-sided bear canister. Chef Corso, who runs the Outdoor Eats blog and store, spent all of spring 2022 developing three-day and five-day meal plans that fit tidily into our BearVault canisters. Read more about how BearVault teamed up with Chef Corso to prepare these meal-plans.
Mayhew also develops meal plans for backpackers, including ones who use bear canisters—and who may also follow vegetarian, dairy-free, or gluten-free diets. Check out her meal consultation memberships here. If you are looking for some easy pre-packaged options, BearVault now carries a few of our favorite foods right on our website. Whether you take the DIY approach or you use another backpacker’s meal plan, the adaptations you make by learning to use a bear canister will make you a better, more efficient backpacker. Enjoy the journey!

