
Backpacking Skills: How to Make Water Safe to Drink When You Run Out
Before you head out on a multi-day hike, you’re going to need to know the answers to some very important questions. Does boiling water make it safe to drink? What other methods are there to make water safe to drink? Where can you find water if you run out?
You’ll start your hike with a certain amount of freshwater from home. But if it’s a very long trip at all, you’ll likely run out. Water is more important than food when you’re on the trail or in a survival situation. Let’s take a look at how much you need to drink and how to make sure you’re able to meet that need.
How Much Water Do You Need While Hiking?
The general rule of thumb is to drink half a liter of water per hour of moderate activity in moderate temperatures. Hiking in difficult terrain or hot, dry conditions will increase that volume. That’s a lot of water if you’re hiking all day in the summer!
Let’s say you’re entering summer and have a 3-day trip planned. You’ll be gaining 5,000 ft of elevation throughout. If you plan on hiking 8 hours a day and know the temperatures are predicted to reach the 90s, you’ll probably drink around 8 liters a day, plus whatever you take in during your downtime.
In case you were wondering, 8 liters of water weighs a little over 17.5 lbs!
So, how do you manage to stay hydrated while backpacking?
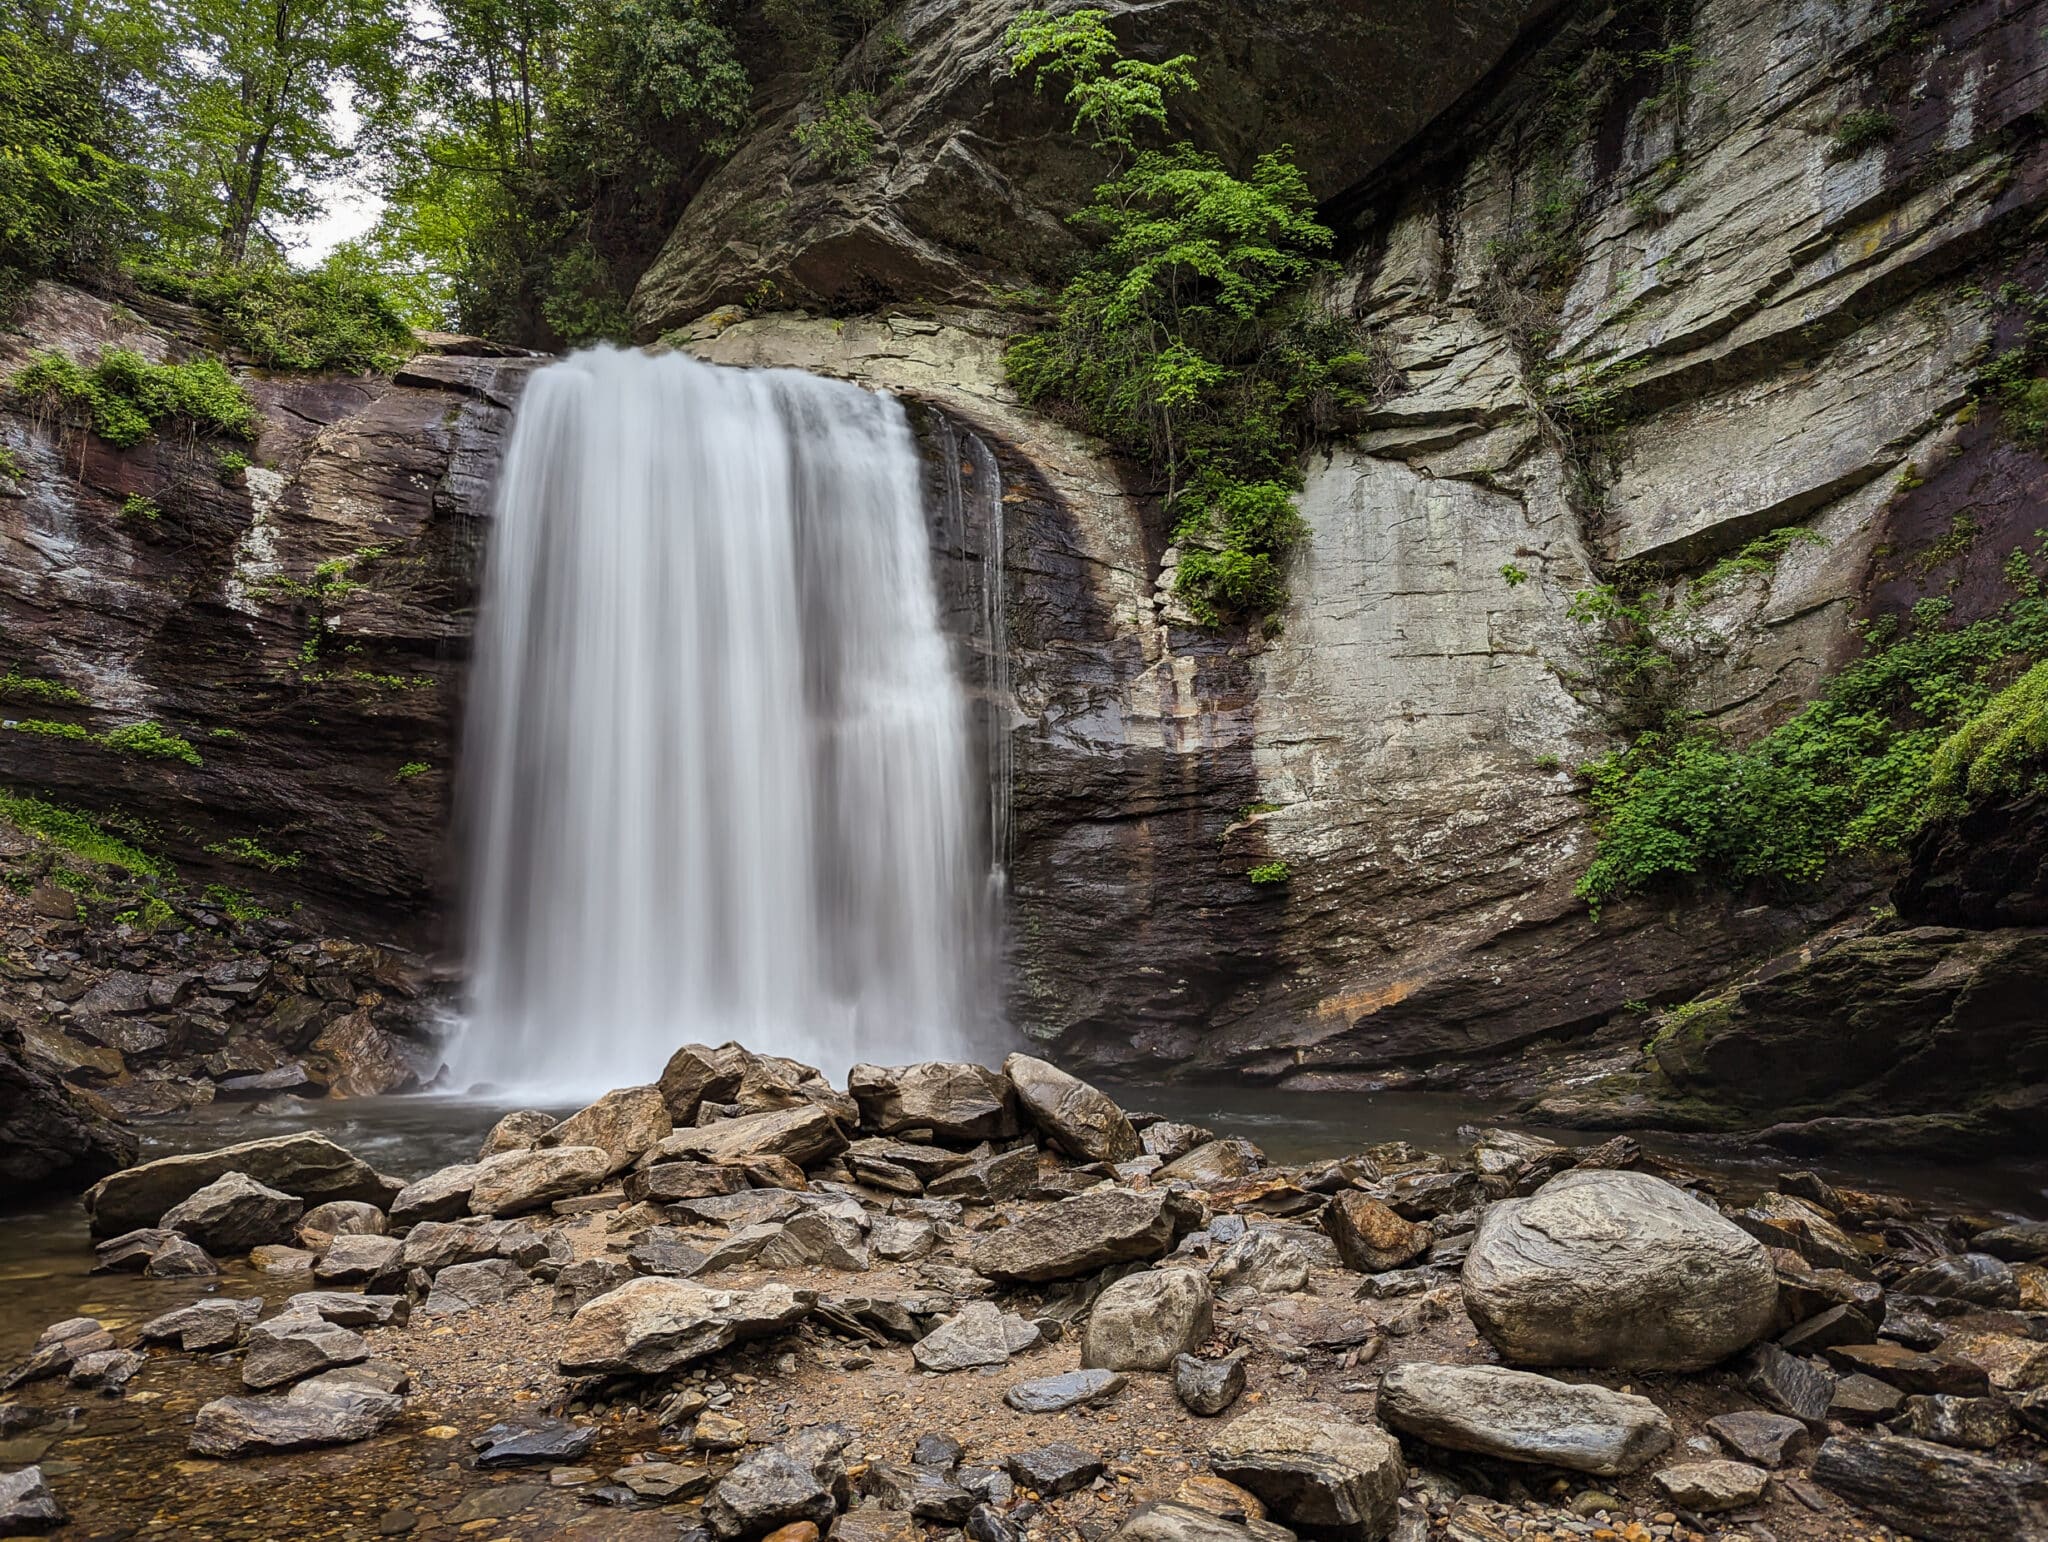
You carry some and find more.
When planning your backpacking trip, you should orient yourself to where you can refill your water reservoir(s). Map out how far it is between sources so you know how much to carry. If water is plentiful, you can keep your weight down. But don’t short yourself on long stretches of dry trail!
But wait, you’re thinking… how do I know the water I find on the trail is safe to drink? Well, you typically don’t. That’s why it’s crucial to know how to sanitize it. I’m not sure there’s a worse way to spend a backpacking trip than with… um… stomach issues.
Let’s talk about what to do with that water you found.
Is clear water safe to drink?
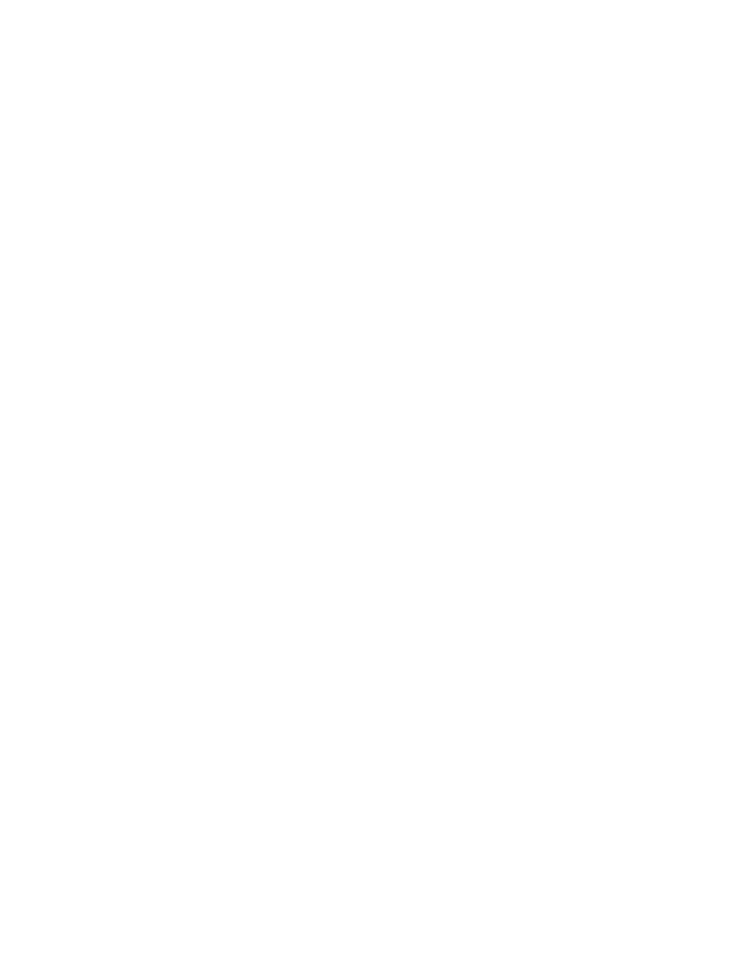
So your bladder is empty (both bodily and packed one), and there’s a creek at the bottom of this hill. It’s crystal clear, cold, and rushing over smooth stones. Perfect to drink, right?
Wrong!
No matter how fresh the water looks, it’s likely that animals have defecated in it. Fish have died in it. Rain run-off has swept all kinds of waste into it. Don’t trust your eyes.
In 2022, news of a possible algae bloom made many hikers ditch plans to tackle a section of the Pacific Crest Trail. Faced with the possibility of toxic cyanobacteria, they chose to not risk it. Certain government sites say water impacted by algae blooms can not be reliably treated on the trail, so definitely keep your ear to the ground for news of this potential.
But for your everyday, run-of-the-mill dangers of contaminated water, you can carry a variety of sanitization methods. Most of the time, you can make your naturally sourced water safe, even if not visually appealing.
How to sanitize water before drinking
There are four methods of making water safe while backpacking. Let’s explore each one individually and learn how to apply them to your situation.
Sanitation Tablets
Iodine and chlorine tablets are used to treat water and prevent bacterial infection. Some brands come with a secondary treatment to neutralize the off-putting taste the first step causes. Most users still notice a slightly ‘off’ flavor, but you can rest assured that you won’t fall ill to giardia if you follow package instructions.
Different formulas require different treatment times to be effective. Be sure and read the directions for your tablets so you don’t accidentally start drinking the water before they’ve had enough time to work.
Most brands have specific claims about effectiveness against both bacteria and viruses. Check your packaging for specifics.
Filtration Systems
Portable filters range from personal filtration straws all the way up to family-sized bladder systems. There’s some variety in quality. That means some are more thorough than others, specifically on claims of filtering viruses.
For instance, the basic LifeStraw never mentions viruses on its product page. The company has other products that claim to filter out 99.999% of viruses, as well as bacteria, microplastics, and parasites.
If your filter doesn’t make any claims to remove viruses, take the time to add another step to your routine. Boiling, purification tablets, and boiling are all effective against viruses.
UV Lights
Ultraviolet lights make water safe to drink by disrupting pathogens’ DNA, making it inactive and unable to replicate itself in your body. Sciency, right? That’s just a fancy way to say it kills them… I think. But my sources consistently danced around using that word, so idk… “destroyed”?
Portable UV lights for backpacking are electric, and having a good charge is necessary for them to work. Check your particular brand’s claims to know how many liters it can purify before needing a recharge.
With this method of purification, you won’t be able to see, smell, or taste any difference in your water. You may want to use a filter as well in order to make it more palatable.
Boiling
The age-old method of water treatment is effective because bacteria, viruses, and parasites typically tap out at around 5 minutes of exposure to a temperature of 140 degrees Fahrenheit.
If your heat source is slow enough, you’ll have safe water by the time it boils. If it’s a speed demon stove and you have boiling water in 2 minutes, you’re going to have to let it roll for a few.
Boiling your water isn’t going to change its look or flavor, so filtering may be a nice addition to the process. Filtering before you boil can save you from having to rinse debris from your pot, too.
Where to find water on the trail
Your first stop for finding water should be your topographical map, which will include streams, rivers, ponds, and lakes. Of course, recent weather patterns can mean there will be more or fewer small bodies of water, so keep that in mind.
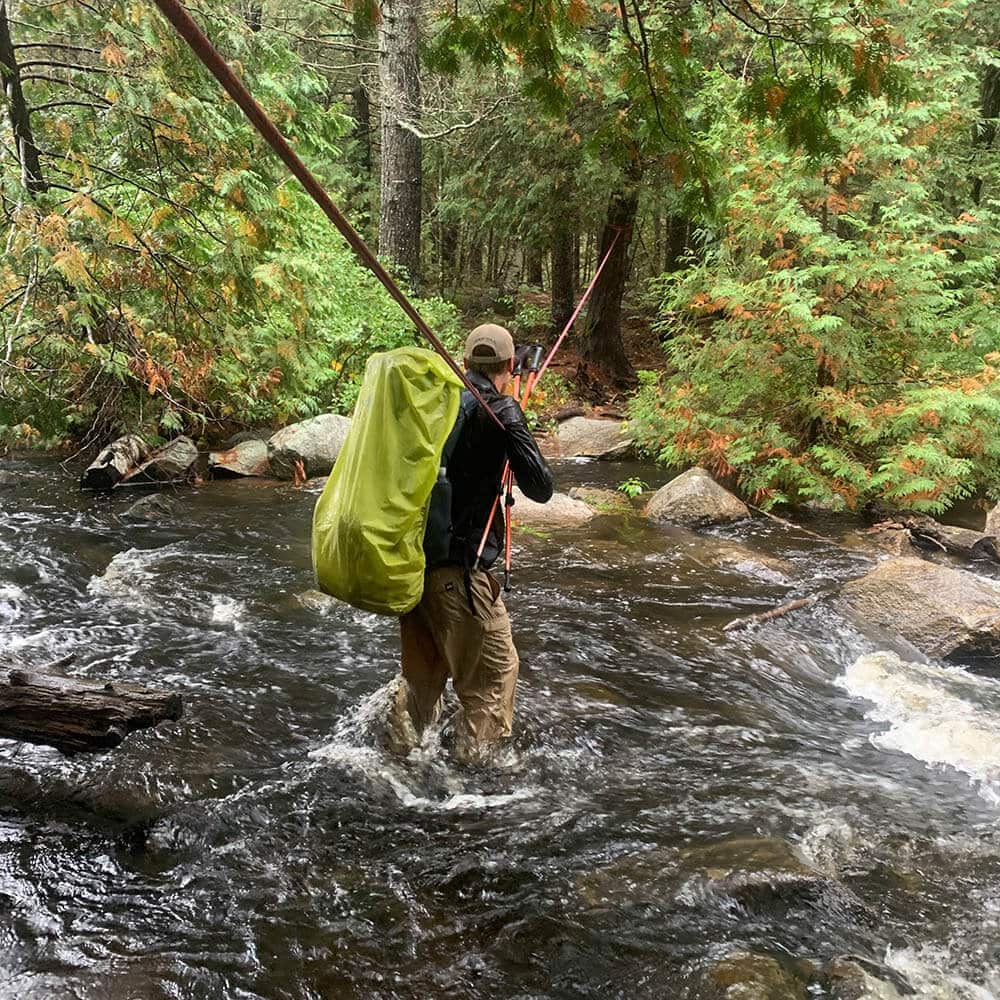
A general rule of thumb for finding water is to follow the natural slopes of the land and look for vegetation. In my area, it’s not uncommon to be hiking in an area that is primarily treeless. We can pretty much assume that a healthy stand of trees is a sign of water. If you’re hiking in a more forested region, that won’t be as helpful of an indicator.
Certain plants are known for their water storage capabilities. Knowing which plants store water could be a helpful trick if you’re in a waterless location.
How to catch water for drinking
If you can’t find water, you can catch it instead. Here are a couple of methods for collecting water when none can be found.
Catching Ground Condensation
Humidity and/or high groundwater concentration lends itself to condensation. To collect it, you’ll need to have non-absorbant material (such as a rainfly or plastic) and a container. Dig a hole and put your container in the center. Then, place your sheet over the hole, letting the center sink towards the container. Secure the sheet with rocks and leave it alone. If the temperature and humidity are right, water vapor will condense on the underside of the sheet and run down to drip into your container.
Catching Plant Condensation
Lush vegetation can be your ticket to clean drinking water as long as you have a waterproof bag or fabric you can wrap around a branch. Choose a plant that’s getting plenty of sunlight. Place your bag around a clump of leaves and fasten it shut with a paracord, a zip tie, or tape. Leave it alone for a few hours to let condensation build up and collect at the bottom of the bag.
Catching Vine Water
If you’re in an ecosystem that’s full of thick forests, look for thick, woody vines. Cutting a section of the right vine can yield fresh, clean water to give you a quick drink. You’ll want to find one that has a tough, woody exterior; the thicker, the better. Simply cut a length section out and wait for gravity to do the work. Do a quick touch and taste test before filling your water bottle. Any cloudiness, stickiness, or bitterness and you’ll want to pass.
Make sure your water is safe to drink
If you didn’t know before, now you do. All water is not created equal, and it takes patience, preparation, and a certain level of knowledge to be sure of your drinking water’s quality while on the trail. Before you head for that remote campsite, be sure you have the tools you need to stay healthy!
Author Profile

Jessica Cockroft
Jess merges her passion for words and an insatiable longing for adventure as an outdoor freelance content writer and marketer. When she’s not busy stringing words together you’ll probably find her planning another camping trip for her crew of kids or taking care of the homestead. You can find her on LinkedIn and Instagram, as well as on her own website.